QuickBooks CAMPs is an amazing utility to help businesses get the most out of their QuickBooks software. However, they can be a little confusing to understand at first. In this complete guide, we will break down all you need to know about QuickBooks CAMPs Intuit login and how to make the most of them. Whether you are just starting out with QuickBooks or have been using it for years, we will teach you something new.
Overview of QuickBooks Camps
QuickBooks Camps generally stand for Customer Account Management Portal. It is the quickest and simplest method to manage your accounts, contacts, products, billing, and user ID access. Additionally, it offers a simple mechanism for downloading the program, changing your payment method, reviewing charges, updating billing information, switching your credit card, updating email addresses, and locating your license number.
How to Login into QuickBooks CAMPs?
Follow the steps for Camps Intuit login:
- First, you need to visit the website of ‘QuickBooks Camps’.
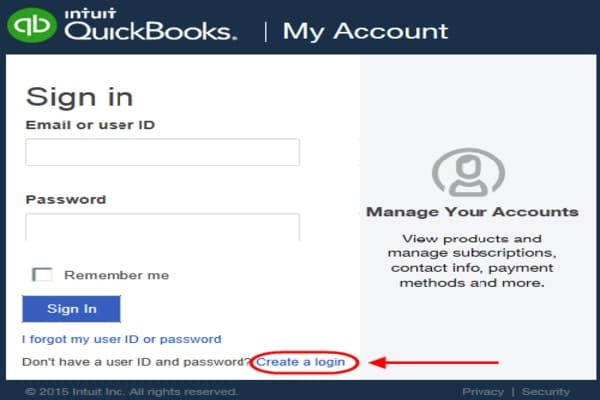
- Then log in to ‘Intuit Account information’. But, it is different from how to log in to a company file.
- Now, if you have the option to look for many products then choose QBs desktop and move to the CAMPs menu.
Read More – How to Troubleshoot QuickBooks unable to send email error?
Problems While Logging to Camps QuickBooks Desktop
Customer Account Management Portal makes use of the email address associated with your product. This might not be the same email you use for your QuickBooks company file. It will automatically create a new account if the email address you are using to register for your product is not already associated with your camps Intuit login. If you have never logged into that account before, you might need to claim it. You might also need to merge your accounts if you have several.
Features of QuickBooks Camps
There are a few features that we are listing below:
- You can manage your contact list in QBs.
- It helps in keeping an eye on the way of making payments and on the update method.
- You can track your activity & membership details.
- Account management & information updates.
Benefits of Using QuickBooks Camps
Below are some of the benefits of using QuickBooks Camps:
- You have the right to make changes to the invoice of any product.
- While using QBs camps, you can view the full record of the transactions.
- It helps in making changes in payroll, or service keys.
- With the help of QBs camps, you can permit a different user to access QuickBooks CAMPs Intuit login.
- Electronic payments and the generation of invoices online are possible.
- Use the CAMPs to access some products, no matter where you are, and add new products & services to QBs.
- Keep in touch with your vendor to know what their requirements are.
Read More – How to resolve printing problems in QuickBooks?
Advantages of QuickBooks Camps
A few advantages of Camps QuickBooks desktop include:
- It allows you to access QuickBooks CAMPs Intuit login from anywhere and anytime.
- You can save time as it makes it easy to manage the data and handle customers.
- QuickBooks tools can be managed in one place.
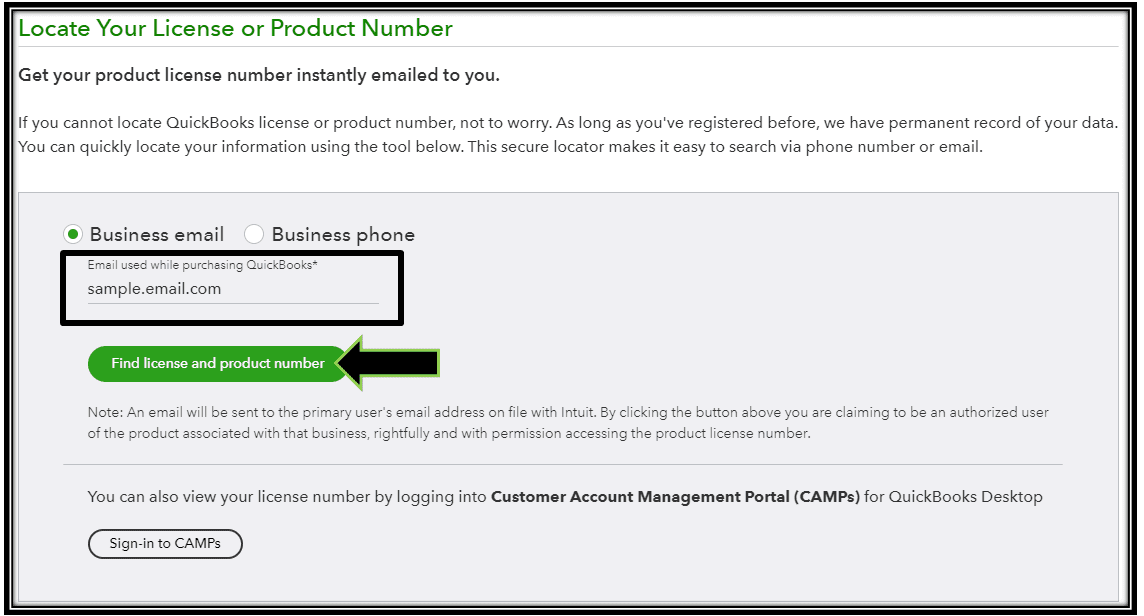
- The license number can be quickly searched.
- It has the option of changing or editing the email.
- If you think that a particular user should be removed, then you can do it easily.
- With the help of QuickBooks Camps, you can also modify your company address or contact details.
How to Add ‘Authorized Users’ in QuickBooks CAMPs?
Just follow the below steps to add authorized users after doing camps intuit login in QuickBooks:
- Login to My Account and select the Product/Service on the Manage your QBs page.
- Verify if you have opened the correct account.
- Now, move to the ‘Authorize Users segment’ and tap on ‘Choose to Invite a User?’.
- Enter all the necessary details like Name, Email, and Contact Number.
- Lastly, click on Send Invite.
Read More – How can you sync square with QuickBooks?
Method to Edit ‘Authorized User’ Info in QuickBooks Camps
Here are the instructions that you should follow to make any changes to the authorized user account:
- Login to My Account and select the Product/Service on the Manage your QBs page.
- Go to Authorize Users account and select your Name.
- After that Edit/Update Email or phone.
Steps to Remove Authorized User
Go through the procedure to remove authorized users from QuickBooks Camps:
- Login to My Account and select the Product/Service on the Manage your QBs page.
- Verify if you have opened the correct account.
- Now, move to the ‘Authorize Users segment’.
- Select the Username and tap on Remove User.